Ruby On Rails
This walkthrough will show you how to set up a basic Rails app using Devise (for user management), Omniauth (for OAuth2), and Swoop (for Magic).
Before you begin, make sure you head to the Swoop Dashboard and create a new property.

Click the 'Add Property' button on the top right of the dashboard landing page.

Then fill in the property fields and submit. Make sure to set the Redirect URL to the following to work with our test project:
http://localhost:3000/auth/swoop/callback.
If you already have a rails app with users, you can skip to step 3.
1. Create the Basic Rails App
In the terminal type the following:
rails new rails_swoop
cd rails_swoop
Open Gemfile and add the Devise gem.
gem 'devise'
Install the gem and set up your Devise User by typing the following into the terminal:
bundle
rails g devise:install
rails g devise User
Devise is now installed. There is one small line you must add to config/environments/development.rb to suppress a warning/error with Devise related to email. Open the file and add the following line:
config.action_mailer.default_url_options = { host: 'localhost', port: 3000 }
Migrate the database by typing the following into the terminal:
rake db:migrate
One last step is to have Devise copy its views into your Rails app. By default, Devise will automagically create login/register forms and hide them from you. In order to edit them, you need to tell Devise to generate them and move them to your app/views/devise directory.
Open the terminal and type this command:
rails g devise:views
You should now have a Rails app with basic User Login/Register. Test it out by starting the server ...
rails s
... and navigating to http://localhost:3000/users/sign_up. You should be able to fully walk through the user login/register flow.
2. Creating a Protected Resource
Let's create a Secret page that only authenticated users have access to. Open the terminal and create a new controller and corresponding index page.
rails g controller Secret index
Open app/controllers/secret_controller.rb and replace existing code with the following code:
class SecretController < ApplicationController
  before_action :authenticate_user!

  def index
    @user = current_user.email
  end
end
The before_action ensures that all users are authenticated before they can access any of the actions of this controller. current_user contains a hash of the currently logged-in user. We are pulling the email out so we can display it in the view.
Open up app/views/secret/index.html.erb and replace the existing code with the following code to display the user email along with a Logout button:
<h1>Welcome !</h1>
<p><%= @user %></p>

<%= link_to('Logout', destroy_user_session_path, method: :delete) %>
In order to access this page, you must first wire it up in your routes file. Open config/routes.rb and replace the existing code with the following code:
Rails.application.routes.draw do
  devise_for :users
  root 'secret#index'
end
Start the server and test things out by typing the following into your terminal:
rails s
You should now have a basic Rails App with authenticated users and a private route. Now, we are going to add Swoop as a login/registration option.
Omniauth is the most popular rails gem offering social login as well as OAuth2 authentication. We are going to be utilizing Omniauth's generic OAuth2 strategy to connect and authenticate with Swoop.
Start by adding the omniauth-oauth2-generic gem to your Gemfile ...
gem 'omniauth-oauth2-generic'
... and installing it by typing into the terminal:
bundle
Omniauth can now be configured to work with any OAuth2 provider. Let's configure it to work with Swoop. Create a new file in the config/initializers/ directory called omniauth.rb. Add the following code (replacing CLIENT_ID and CLIENT secret with the values obtained from the property in your Swoop Dashboard):
# config/initializers/omniauth.rb
Rails.application.config.middleware.use OmniAuth::Builder do
  provider :oauth2_generic,
    "CLIENT_ID", "CLIENT_SECRET",
    client_options: {
      site: 'https://auth.swoop.email',
      token_url: '/oauth2/token',
      user_info_url: '/oauth2/profile'
    },
    user_response_structure: {
      attributes: {
        email: 'email',
        uid: 'sub'
      }
    },
    authorize_params: {
        scope: 'email'
    },
    name: 'swoop'
end
Here is a brief explanation of each of the configuration parameters:
CLIENT_ID: Replace this with the Client ID of the property.CLIENT_SECRET: Replace this with the Client Secret of the property.site: This is the address of the OAuth2 provider. In this case, it's Swoop.token_url: The address onsitewhere a token can be obtained.user_info_url: The address onsitewhere an access token can be exchanged for user info. In this case, the user's email.attributes: This section is specific to how Omniauth maps incoming information to Omniauth's data structure. Basically, we are telling Omniauth how to map the user's email and unique ID.authorize_params: These are additional parameters sent to the OAuth2 provider. We are sendingscope=emailto tell Swoop that we are interested in obtaining the user's email address.name: This is the name of our strategy. It will be useful for generating our Rails routes. In this case, it will generate two routes: /auth/swoop and /auth/swoop/callback.
Now that Omniauth has been configured, you can test it out. Start your rails server ...
rails s
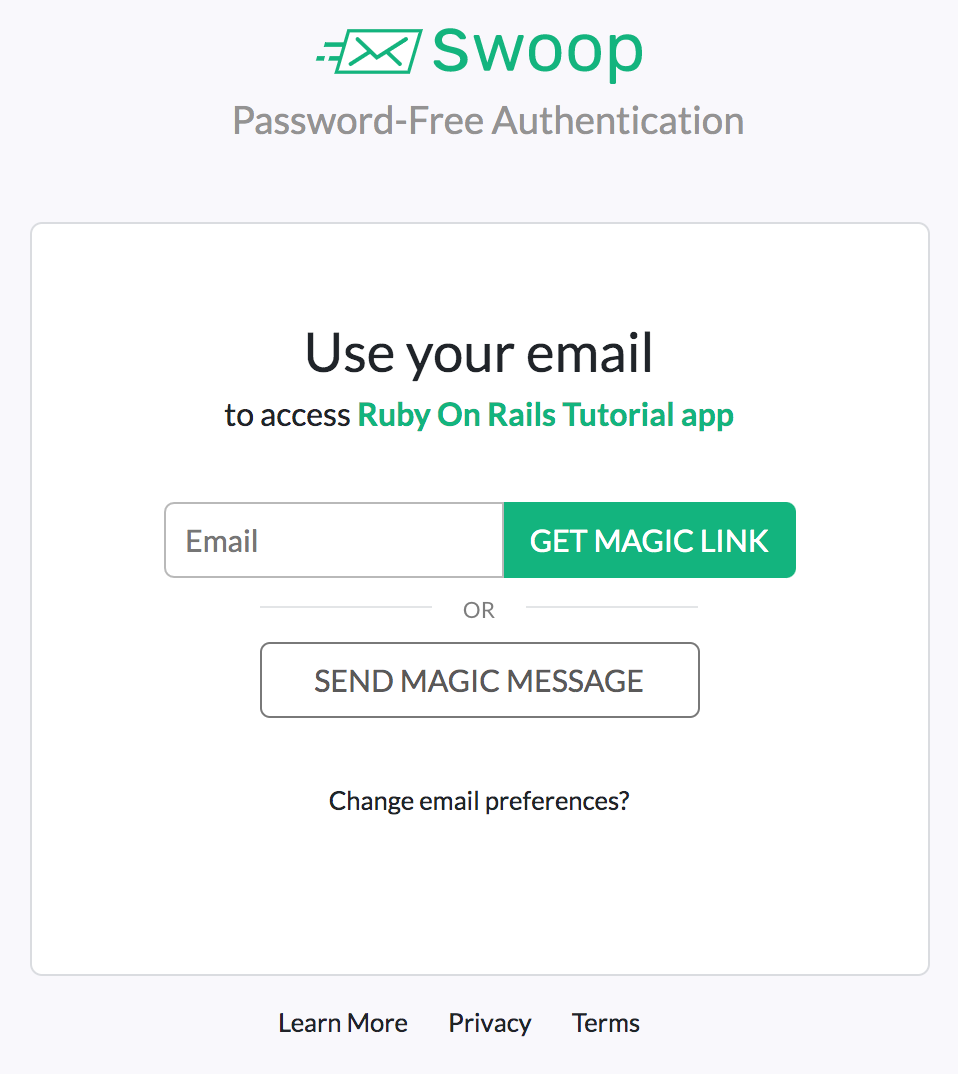
... and navigate to http://localhost:3000/auth/swoop. If you set everything up correctly, you should be automatically redirected to Swoop's authentication screen.

If you follow the login flow, it will eventually redirect you to http://localhost:3000/auth/swoop/callback and throw an error. That's because this route doesn't exist yet. Let's create it.

4. Create the OAuth2 Callback
Open the terminal and create a Callbacks controller.
rails g controller Callbacks
Open app/controllers/callbacks_controller and replace the existing code with the following code:
class CallbacksController < ApplicationController
  def swoop
    @user = User.from_omniauth(request.env['omniauth.auth'])
    sign_in_and_redirect @user
  end
end
The first line looks up and/or creates a user from the omniauth.auth hash. This hash is automatically generated and stored in request.env by Omniauth. It contains all of the information about the session.
This hash is passed into a function (yet to be created) on the User model called from_omniauth. Once the user is returned, we call the sign_in_and_redirect method from Devise to perform the same login procedure to create a session for the User and give them access to the Secret route.
The last part here is to map this route to the callback route for Swoop. Open config/routes.rb and add the following line:
get '/auth/:provider/callback', to: 'callbacks#swoop'
Now, when Swoop redirects back to your server, it will invoke this method.
5. Update the User Model
Let's create the from_omniauth used in the previous step. Open app/models/user.rb and add the following code:
class User < ApplicationRecord
  # Include default devise modules. Others available are:
  # :confirmable, :lockable, :timeoutable, :trackable and :omniauthable
  devise :database_authenticatable, :registerable,
         :recoverable, :rememberable, :validatable

   def self.from_omniauth(auth)
       where(email: auth.info.email).first_or_create do |user|
         user.email = auth.info.email
         if !user.password
           user.password = Devise.friendly_token[0,20]
         end
       end
   end
end
This method takes an auth hash (from Omniauth) and looks up a user by their email. The first_or_create method will return a user if the email query matches OR creates a new user if it doesn't.
After looking up the user, we assign the email and generate a password (for new users).
6. Creating Swoop In with Email Link
The last step is adding the Swoop login link to your view. Open app/views/devise/sessions/new.html.erb and add the following code inside the form loop:
<div class="swoop_in">
  <%= link_to "Swoop In With Email", "/auth/swoop" %>
</div>
Restart the server by typing in your terminal:
rails s
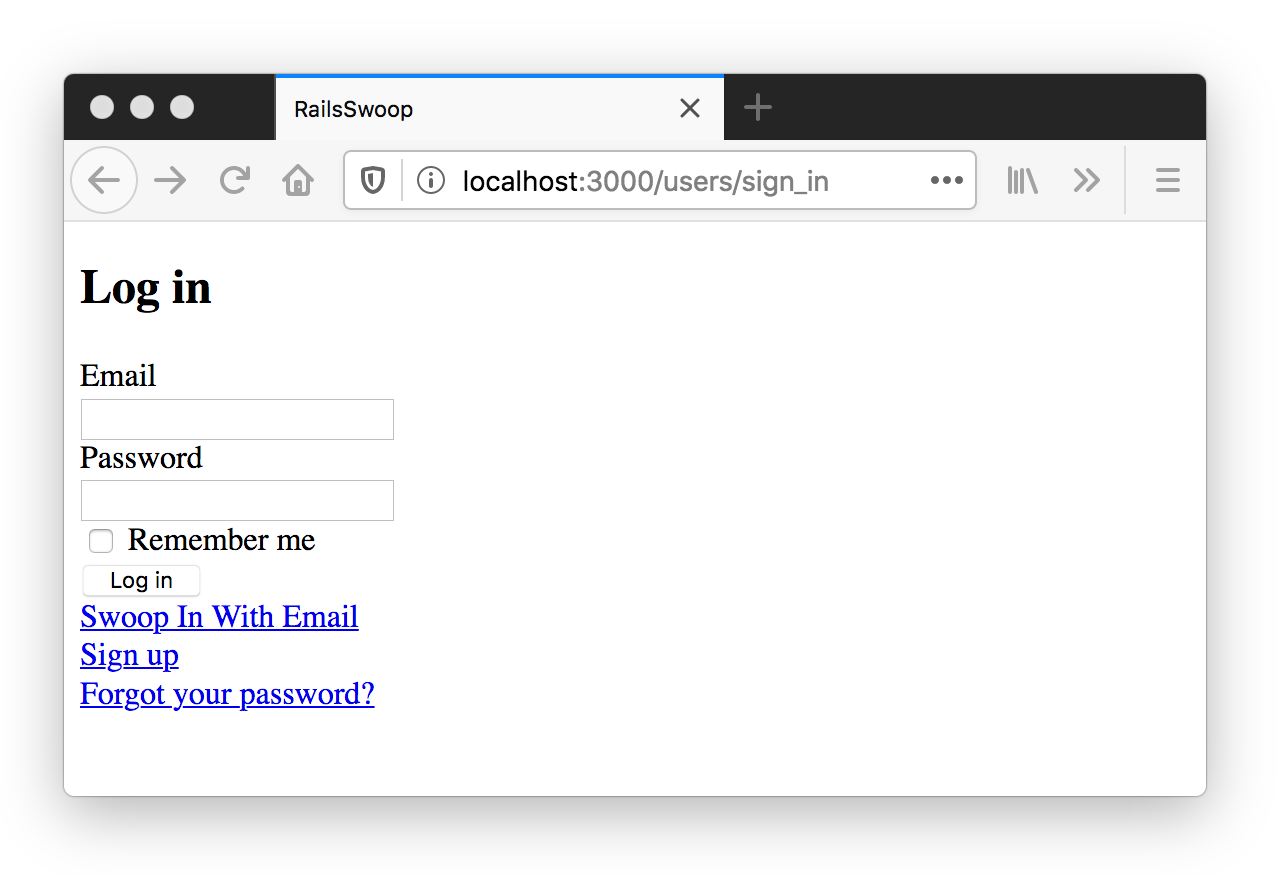
Open up your browser and head to http://localhost:3000/, and you will see the login screen with your new Swoop link. Click through and Swoop will authenticate your users.

Updated almost 5 years ago
