Rails - Session
You can download the comprehensive Starter Example Here if you prefer.
This walkthrough will show you how to set up a basic Rails app using Sessions (for user management), omniauth-swoop (for authentication), and Swoop (for Magic).
Before you begin, make sure you head to the Swoop Dashboard and create a new property. You will need the CLIENT_ID and CLIENT_SECRET for this tutorial.

Click the 'Add Property' button on the top right of the dashboard landing page.

Then fill in the property fields and submit. Make sure to set the Redirect URL to the following to work with our test project:
http://localhost:3000/auth/swoop/callback
1. Create the Basic Rails App
In the terminal type the following:
rails new swoop_rails
Once the basic project has been completed, let's add the resource that we want to protect by authentication. Create a controller called Secrets and allow rails to generate the index and login views.
rails g controller Secrets index login
2. Configuring Protected Resources
There are quite a few ways we can secure the routes. Since this example will use sessions to hold the user information, we can add all of our protection / user information to a concern. This will allow it to be used in any controller and to protect any resource.
Create a file in app/controllers/concerns called current_user_concern.rb and add the following code:
# app/controllers/concerns/current_user_concern.rb
module CurrentUserConcern
  extend ActiveSupport::Concern

  included do
    helper_method :current_user
    helper_method :require_login
  end

  # Returns true if the user is logged in, false otherwise.
   def current_user
     if session[:user] then
       session[:user]
     else
       nil
     end
   end

   def require_login
    unless current_user
      redirect_to secrets_login_url
    end
  end
end
This exposes two methods. The first current_user checks to see if the :user key is part of the session and returns it. If not, nil is returned.
The second method require_login redirects to the login URL of our secrets controller if the current_user doesn't exist. We can use this as a filter on any of our controller actions.
Open up app/controllers/secrets_controller.rb and add the following code:
class SecretsController < ApplicationController

  include CurrentUserConcern

  before_action :require_login, :except => :login

  def index
    @user = current_user
  end

  def login

  end
end
We are including our CurrentUserConcern class here and using the require_login filter on all routes in the SecretsController except the login route.
Start up the server and test that our secret index route is protected.
rails s
Open up http://localhost:3000/secrets/index and observe it redirecting to /secrets/login. It's now time to add https://swoopnow.com to authenticate the user session.
3. Adding and Configuring Swoop
Swoop for Rails is built on top of the popular Omniauth library. This allows you to easily configure it if you are already using this gem or easily add it if you are not.
Open your Gemfile and add the following line:
gem 'omniauth-swoop', '~> 0.1.7'
then open the console and type the following to install the gem:
bundle install
Once installed, omniauth-swoop must be configured with the CLIENT_ID and CLIENT_SECRET obtained from step 1.
Create a file in config/initializers/ominauth.rb and add the following code replacing CLIENT_ID and CLIENT_SECRET with your property's credentials:
Rails.application.config.middleware.use OmniAuth::Builder do
  provider :swoop, "CLIENT_ID", "CLIENT_SECRET"
  # Allow GET requests
  OmniAuth.config.allowed_request_methods = [:get, :post]
end
Note the line about allowed_request_methods. This is a recent change to Omniauth and will be required for this example to work.
Now that Swoop has been configured, we need a way to link the user to authenticate. Open app/views/secrets/login.html.erb and add the following code:
<h1>Welcome, please log in!</h1>
<div><%= link_to "Login", '/auth/swoop' %></div>
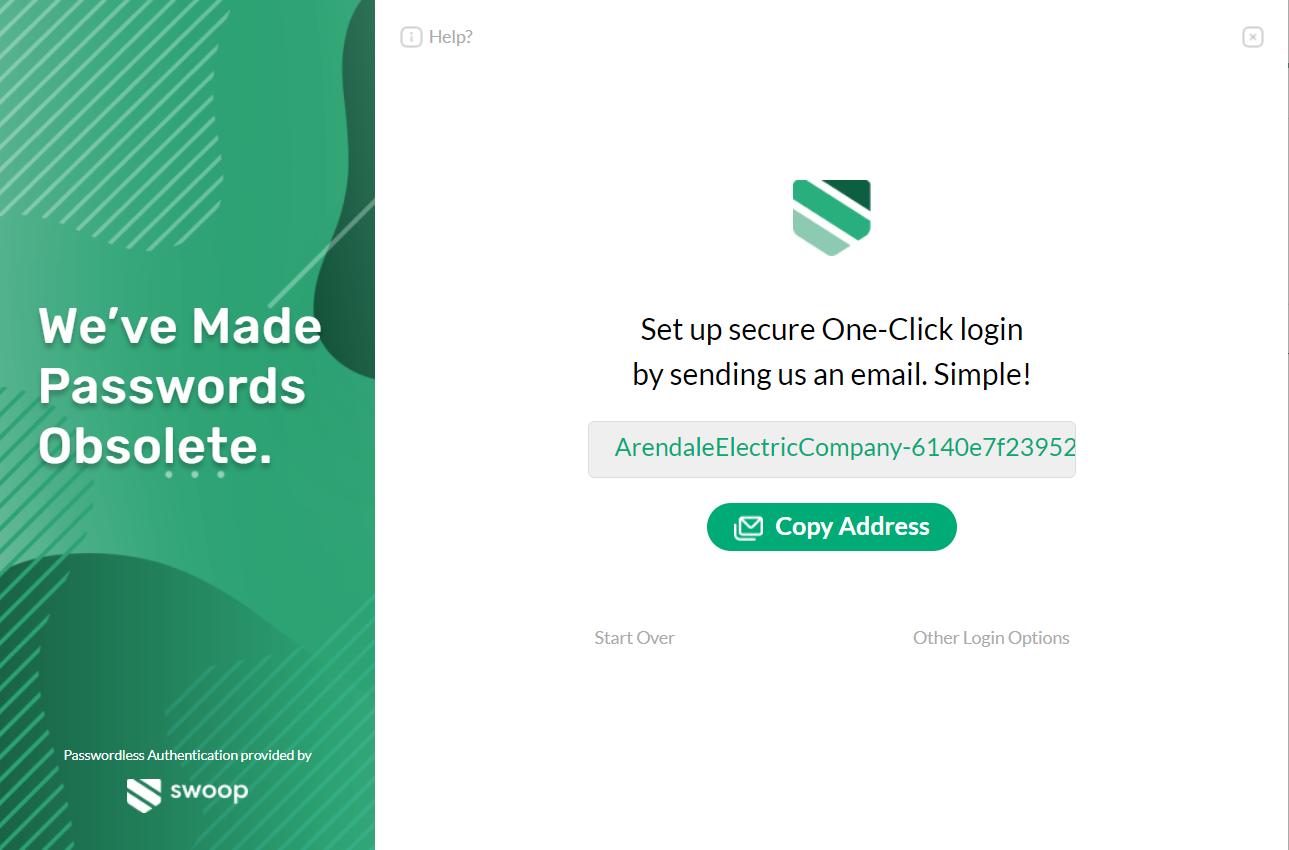
Let's test it out! Restart the server and visit http://localhost:3000/secrets/index. If you set everything up correctly, you should be automatically redirected to Swoop's authentication screen.

If you follow the login flow, it will eventually redirect you to http://localhost:3000/auth/swoop/callback and throw an error. That's because this route doesn't exist yet. Let's create it.

4. Create The OAuth Callback
When Swoop returns, it will redirect to /auth/swoop/callback. At this point, the user is fully authenticated. Before we create this logic, let's wire up this route to a controller that we'll create in the next step. Open config/routes.rb and add the following lines:
get 'sessions/create'
get '/auth/:provider/callback', to: 'sessions#create'
get 'logout', to: 'sessions#destroy', as: :logout
This will link the callback up to a create method of a Sessions controller. I have also added the logout route to link up to the destroy method. Both of these methods will be implemented in to the following section.
Open the terminal and create a Sessions controller. We will add two routes, create and destroy, for our callback and our logout functions.
rails g controller Sessions create destroy
Open the newly created app/controllers/sessions_controller.rb and add the following code
class SessionsController < ApplicationController
  def create
    @user = request.env['omniauth.auth'].info
    session[:user] = @user
    redirect_to :secrets_index
  end

  def destroy
    reset_session
    redirect_to :secrets_login
  end
end
When Omniauth completes the authentication, all of the user information is stored in a global environment variable called request.env['omniauth.auth'].info. For this example, we can store this info directly in the user session. In a production app, you might use this information to look up a user in your database.
To log out, we simply destroy the session and redirect the user to the logout page.
5. Accessing User Information
What good would a secret route be without showing some user information? Open up app/views/secrets/index.html.erb and add the following code:
<h1>Welcome !</h1>
<p><%= @user["email"] %></p>

<%= link_to('Logout', logout_path) %>
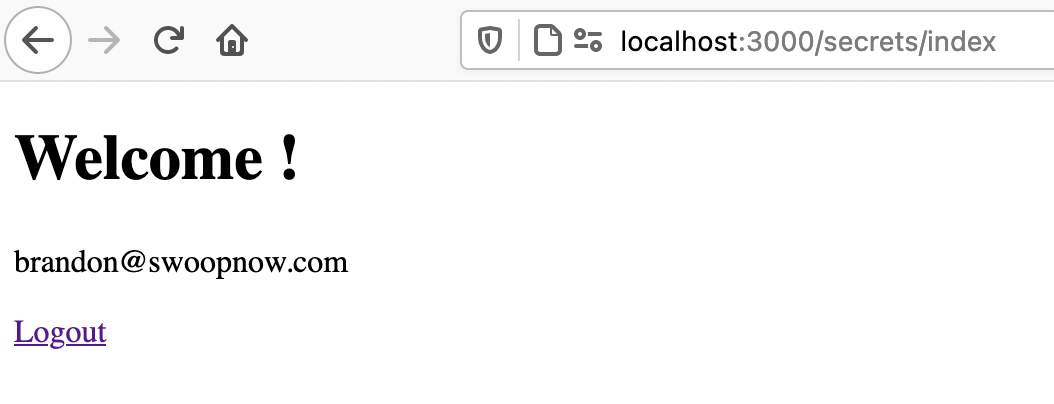
Here we are displaying the user's email address and giving them a link to log out. Now, start up the server, head back to http://localhost:3000/secrets/index and walk through the authentication steps.
You should now see a screen similar to the one below:

You should now have a basic application that authenticates password-free with Swoop.
Updated over 4 years ago
