WordPress
Swoop's WordPress plugin is the easiest way to add passwordless 2FA/multi-factor authentication to your WordPress site. Try adding Swoop's passwordless authentication WordPress plugin right now and see for yourself!
Adding the Swoop service to any Wordpress site is dead-simple with Swoop's WordPress plugin. Instead of custom-coding Swoop within a WordPress site, let our Swoop plugin do the heavy lifting. Follow these steps and you'll be on your way to eliminating passwords on your WordPress site in a flash.
Step 1: Install & activate Swoop plugin
- Log into your WordPress admin typically found at: www.yourdomain.com/wp-admin.
The Last Time You'll Need Your Password
This should be the last time you need that pesky WordPress admin password. Once you're done installing and configuring the Swoop passwordless authentication WordPress plugin, you'll be passwordless moving forward.
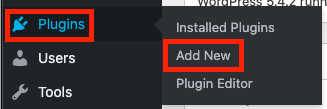
- On the left-hand navigation, click on 'Plugins'
- Next, click on 'Add New'
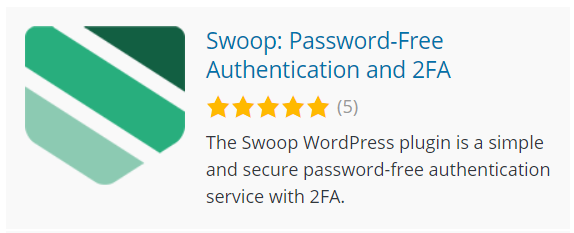
- Search for: 'Swoop: Passwordless Authentication' in the search bar.
- Click 'Download Now' and Install.
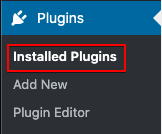
- Navigate to 'Installed Plugins'
- Activate 'Swoop: Passwordless Authentication'. In addition, enable auto-updates.

Step 2: Connect Swoop to your WordPress site
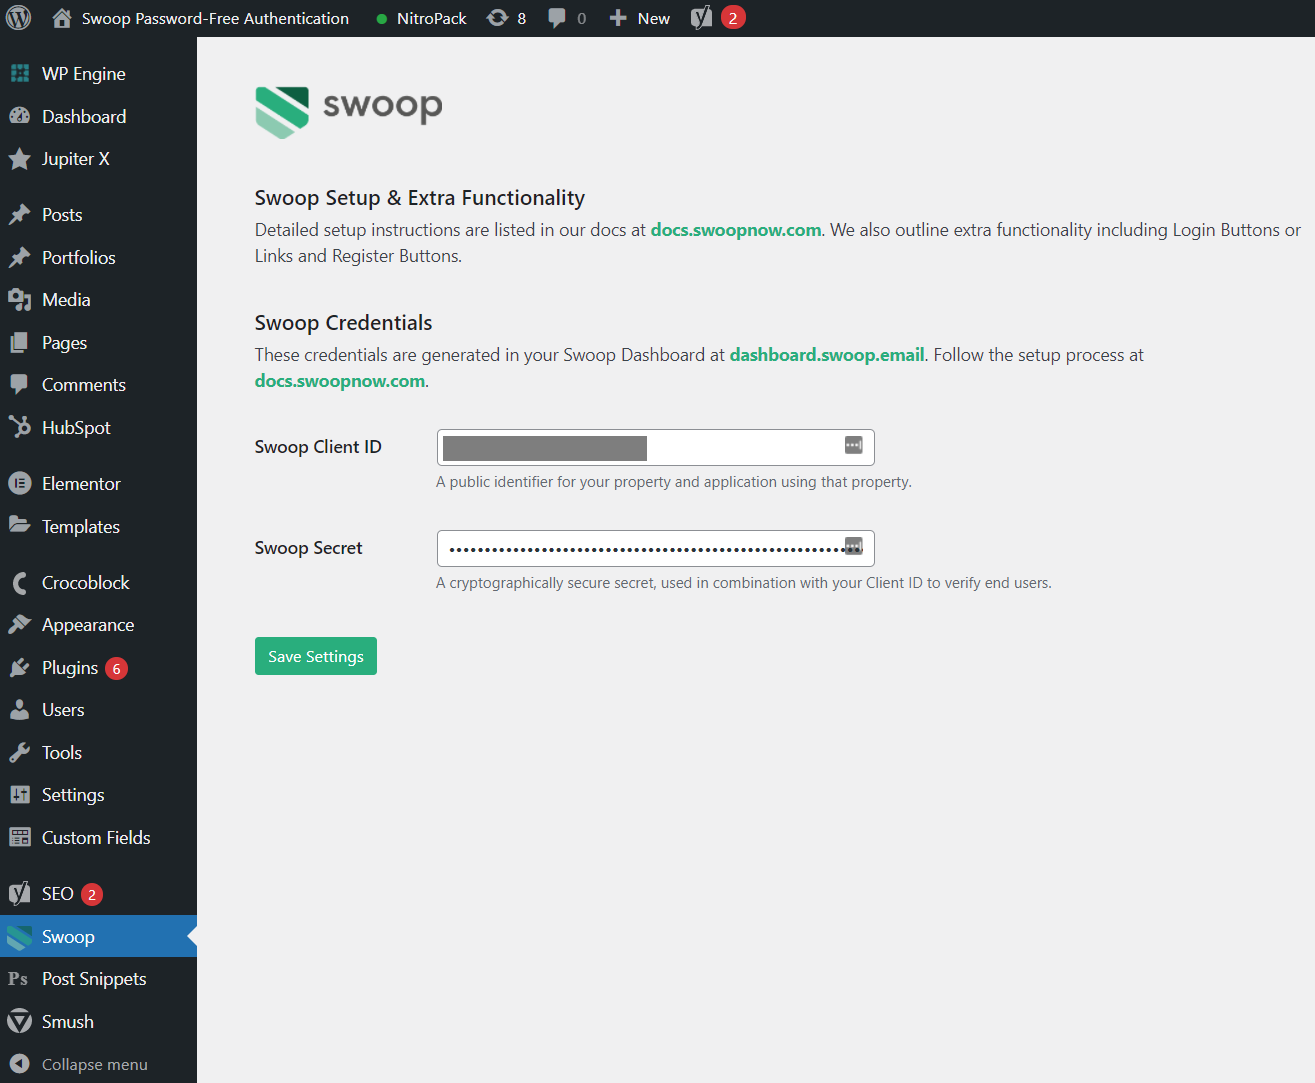
Once the Swoop plugin is installed and activated, you'll be ready to connect your swoop developer account to your WordPress site. If you haven't yet created a developer account you can do so be signing up here. Let's begin.
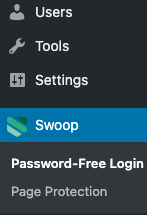
- Navigate to Swoop on the side navigation of your Wordpress instance.
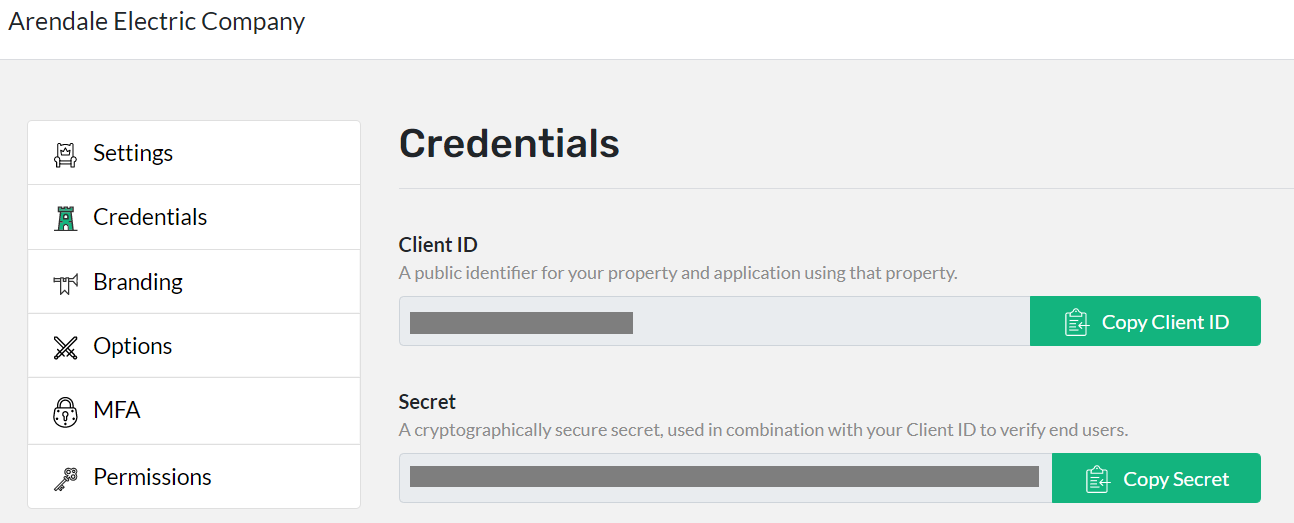
-
From the Swoop developer dashboard copy the Client ID and paste it into the Wordpress plugin Client ID input field.
-
From the Swoop developer dashboard copy the Client Secret and paste it into the Wordpress plugin Client Secret input field.
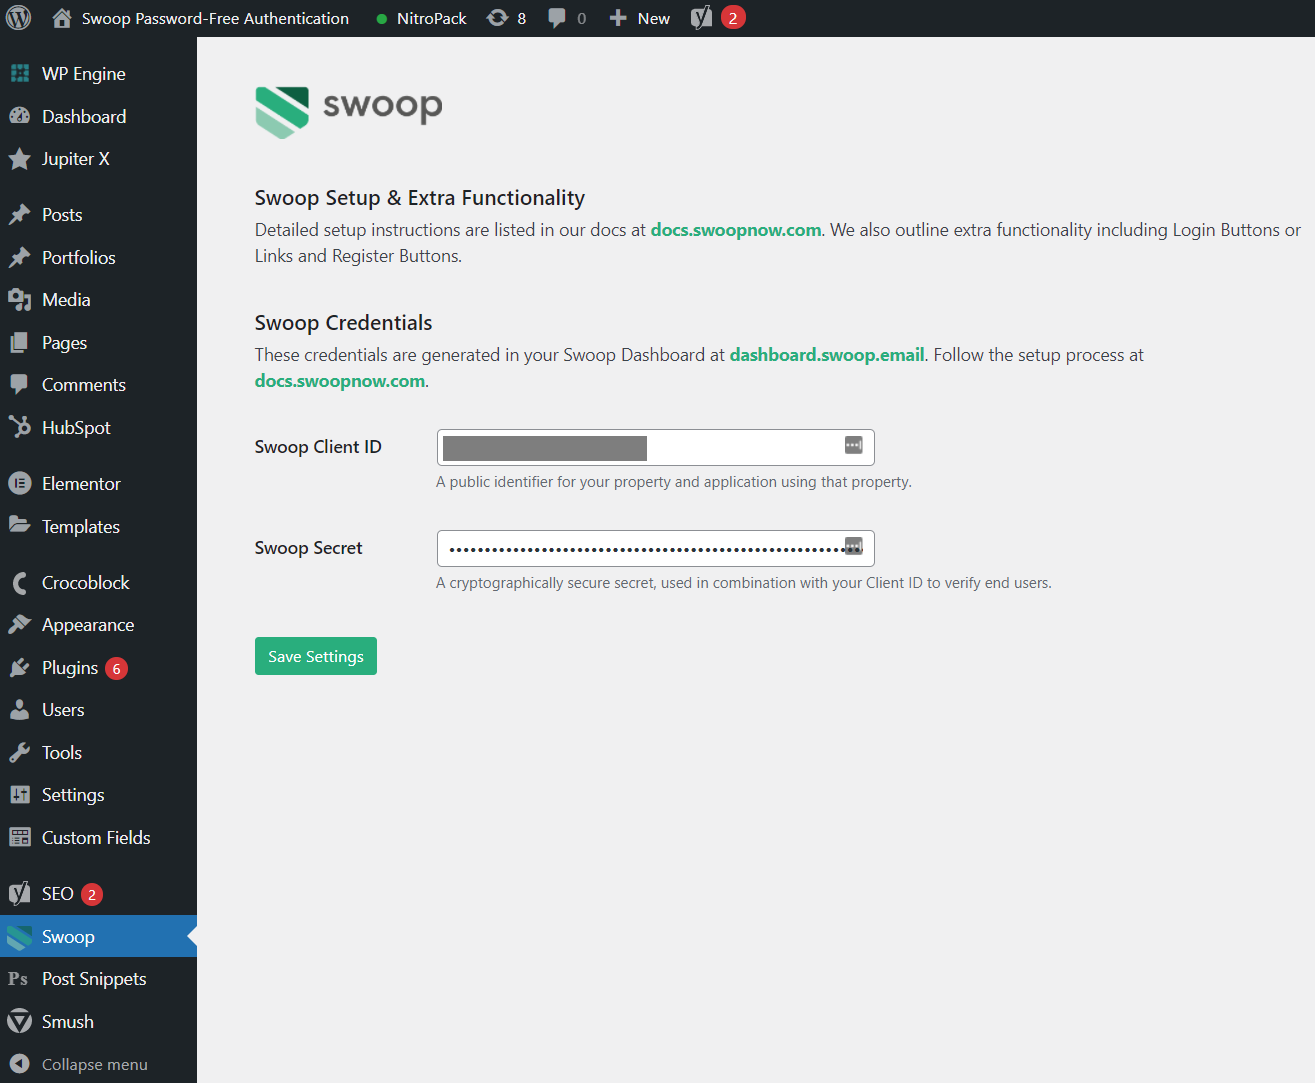
- Click 'Save Changes' and you are ready to test your connection.
That's it. You're done.
And so are passwords on your WP site.
The next time you log in to your WordPress site, the default WP username/password will be replaced with the 'Swoop In with Email' icon.
Swoop Shortcodes
Swoop offers a few short codes to help you build out your membership site.
To display the Swoop Login Button anywhere inside of a post or page simply use the [swoop_login] code. Here is an example of using the shortcode with the different configurations available.
[swoop_login]
[swoop_login title="xxxxx xxxxx xx"]
[swoop_login target="https://yoururl.com/account"]
[swoop_login title="Sign in with email" target="https://mydomain.com/account"]
Swoop also provides a simple short code to require login before a page can be accessed. Use the [swoop_requires_login] code anywhere in the post or page and the page will automatically redirect the user to the Wordpress login page if they are not already logged in. Upon successful login, Wordpress will redirect them back to the page or post they were trying to access.
[swoop_requires_login]
Button Formatting
The Swoop login shortcode outputs an A link that will be defined by the implementing sites theme and associated CSS class.
Adding A Custom Login Button
If you want to add a login button to your site's theme, you will follow the same process outlined in Connect Swoop To Your Own Button. Simply, hook any button with the swoop.in javascript SDK call and it will invoke the login.
<button onclick="swoop.in();">Login With Email</button>
Updated over 3 years ago
