Settings
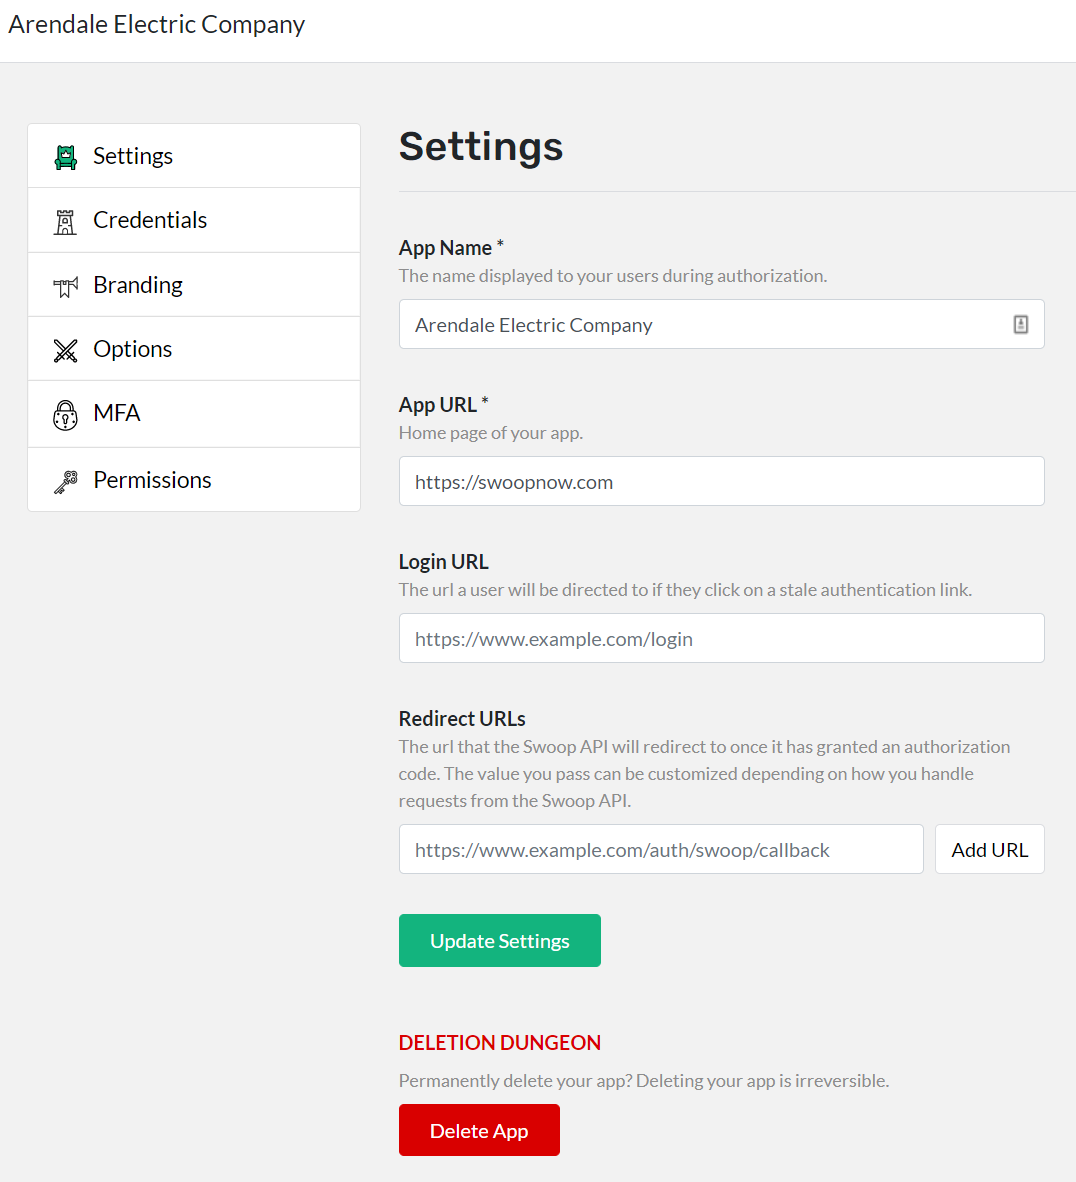
After you've created an app, you'll be able to input your app Settings.

Be sure to specify your new app parameters as follows:
| Parameter | Description |
|---|---|
App Name | The name of your property. This public-facing name is how your app will be displayed to your users during authorization, as well as how it'll be listed privately in your Swoop dashboard. |
App URL | You website's home URL. For example: https://yourdomain.com. Or if you're testing Swoop locally, something like: https://localhost:3000. |
Login URL | If you have a login page URL on your site, enter it here. If your users click on a stale authentication link and need to start the auth flow over, this will direct them back to your login page (rather than your site's main homepage). For example: https://yourdomain.com/login. |
Redirect URL (OAUTH) | This is the URL that the Swoop API will redirect to once it has granted an authorization code. The value you pass can be customized depending on how you handle requests from the Swoop API on your backend. However, a common OAuth pattern for handling these requests is to have your REDIRECT URL match '[homepage_url]/auth/:provider/callback'. In this case, the 'provider' is 'swoop', so this would make your REDIRECT URL '[HOMEPAGE URL]/auth/swoop/callback'. |
App Name Matters
The Property Name will be displayed in the front-end as the label to describe your web property—so make sure that its definition is brand-guide friendly.
Updated over 4 years ago
