The Swoop Dashboard
Central command for your password-free strategy.
The Swoop dashboard is the control center for the management of your website or application configuration, as well as for the Swoop service itself. Keep an eye on the dashboard as we continue to build out more and more (and more!) functionality. Our goal is to give you total freedom to control your authentication experience.
To get started, visit the Swoop Dashboard and authenticate.
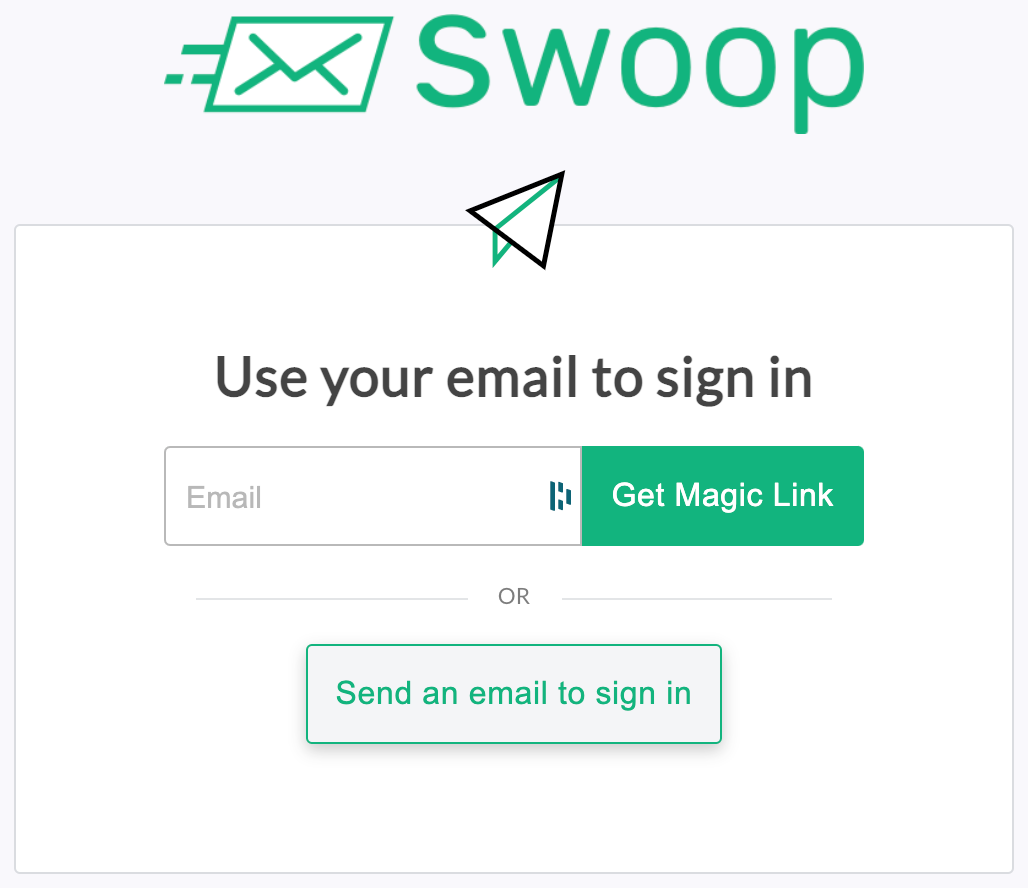
You did it. Wasn't that easy? Welcome to the Swoop dashboard homepage.
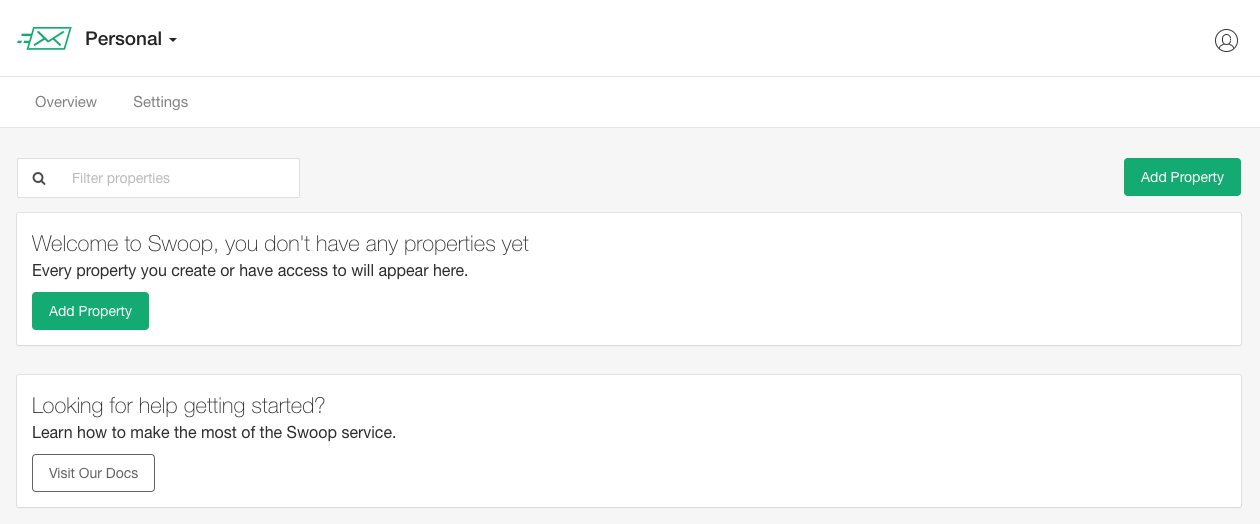
1. Add a Property
To get started, click 'Add Property'

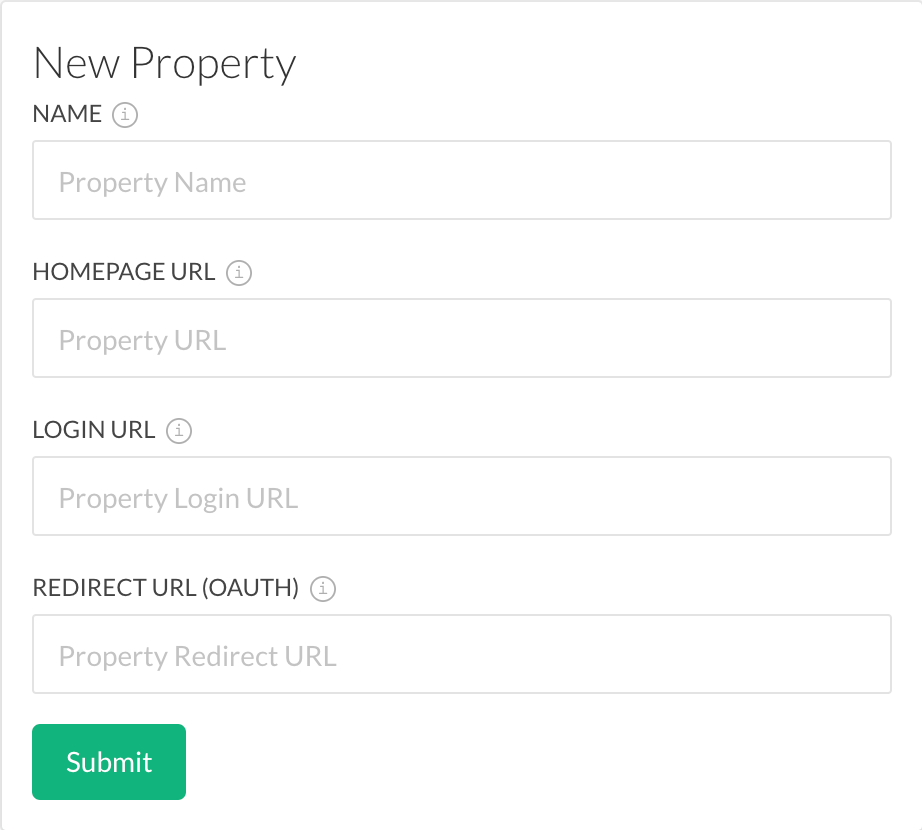
Next, specify your new property parameters as follows:
| Parameter | Description |
|---|---|
NAME | That name that your property will be listed by in the Swoop dashboard. |
HOMEPAGE URL | http://yourdomain.com, or if you're testing swoop locally, something like http://localhost:3000. |
LOGIN URL | The login page URL a user will be directed to if they click on a stale authentication link and need to start the auth flow over. For example, https://yourdomain.com/login |
REDIRECT URL (OAUTH) | This is the URL that the Swoop API will redirect to once it has granted an authorization code. The value you pass can be customized depending on how you handle requests from the Swoop API on your backend. However, a common OAuth pattern for handling these requests is to have your REDIRECT URL match '[homepage_url]/auth/:provider/callback'. In this case, the 'provider' is 'swoop', so this would make your REDIRECT URL '[HOMEPAGE URL]/auth/swoop/callback'. |
Property Name Matters
The Property Name will be displayed in the front-end as the label to describe your web property—so make sure that its definition is brand-guide friendly.
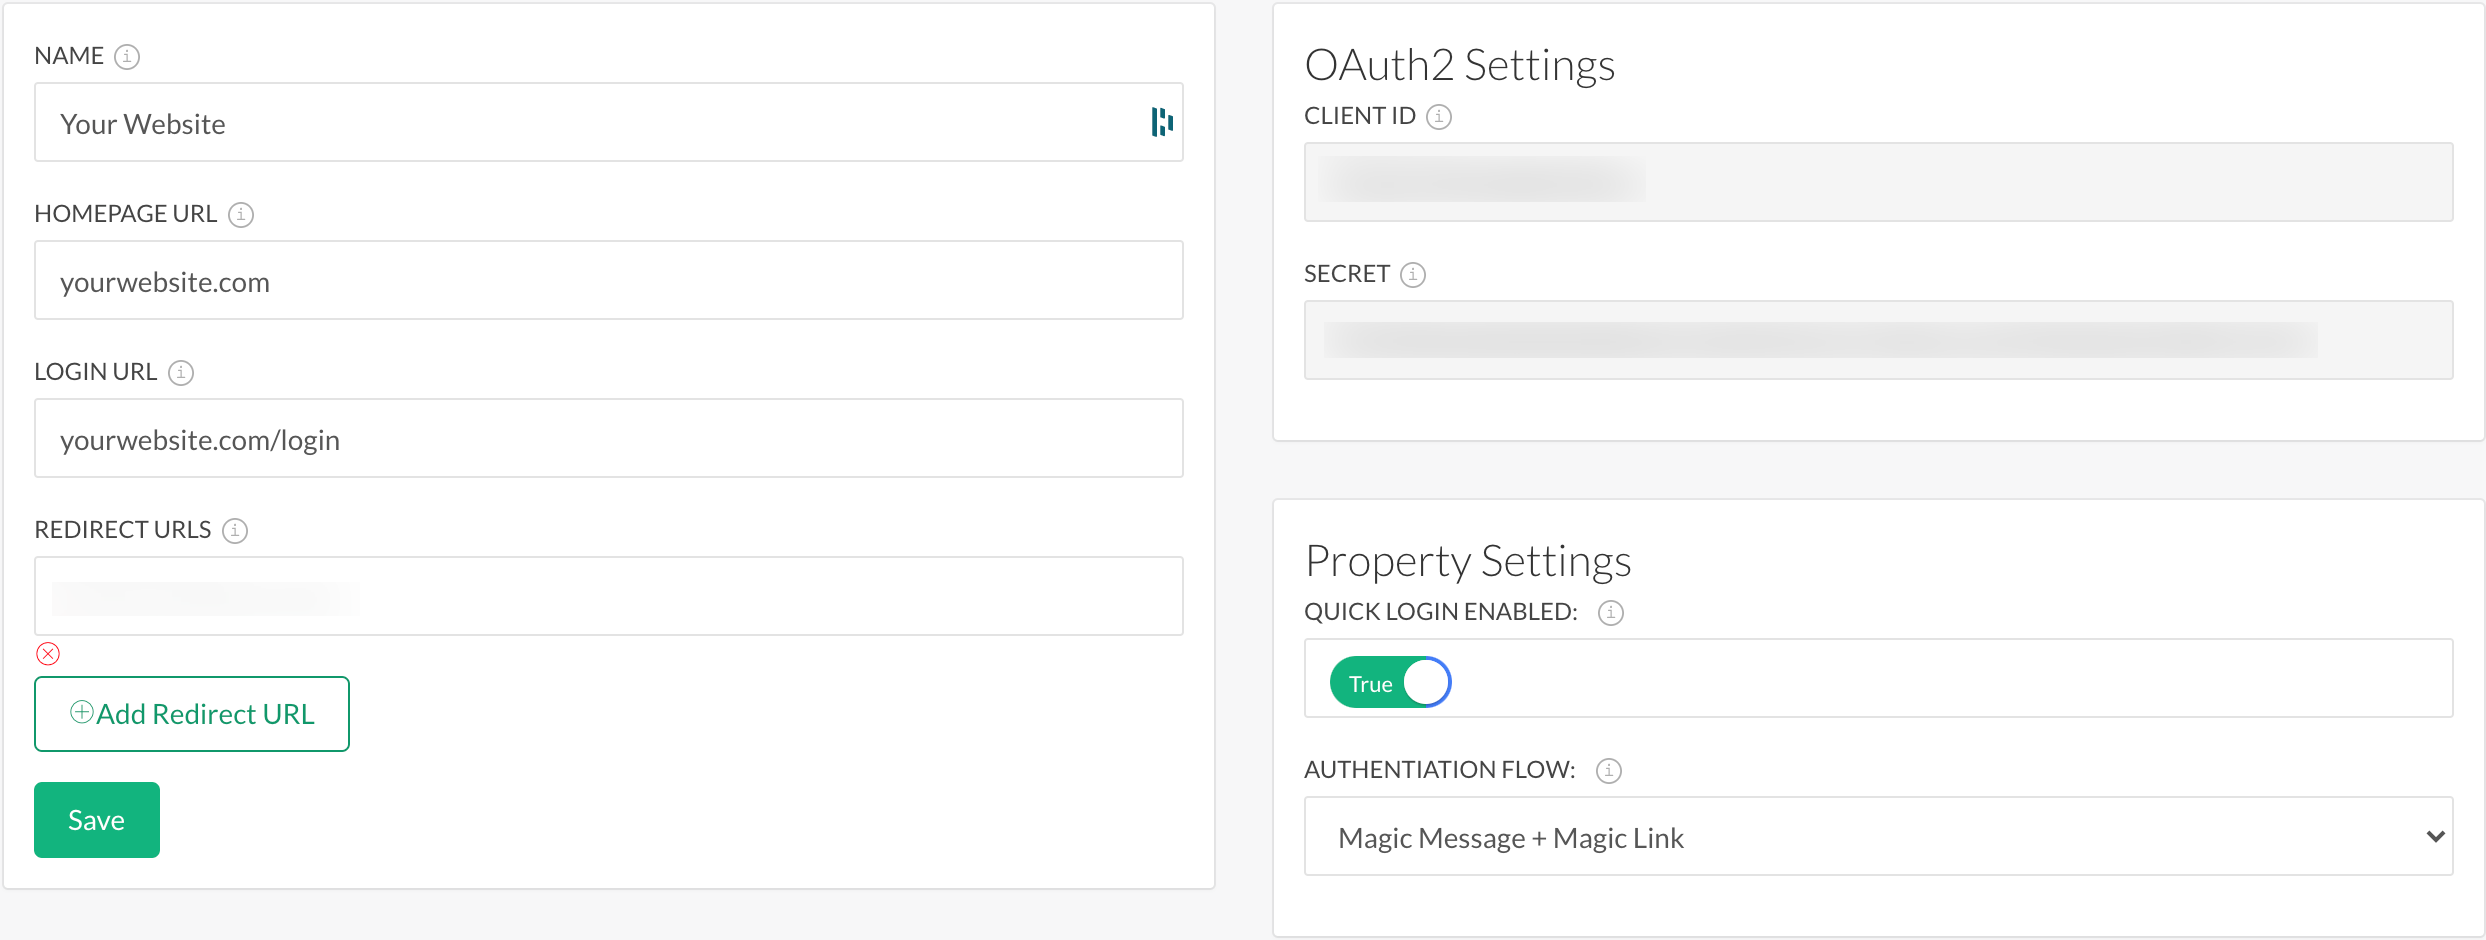
Hit "Submit" to create your property, revealing your CLIENT ID and SECRET, which are blurred in the screen shot below. These will be unique variables for each of your properties.
2. Add a New Organization
Swoop supports a mutli-tiered structure to allow for small and large enterprises to manage the full scope of properties that they manage. This is great for developers supporting multiple organizations or for large, complex corporations.
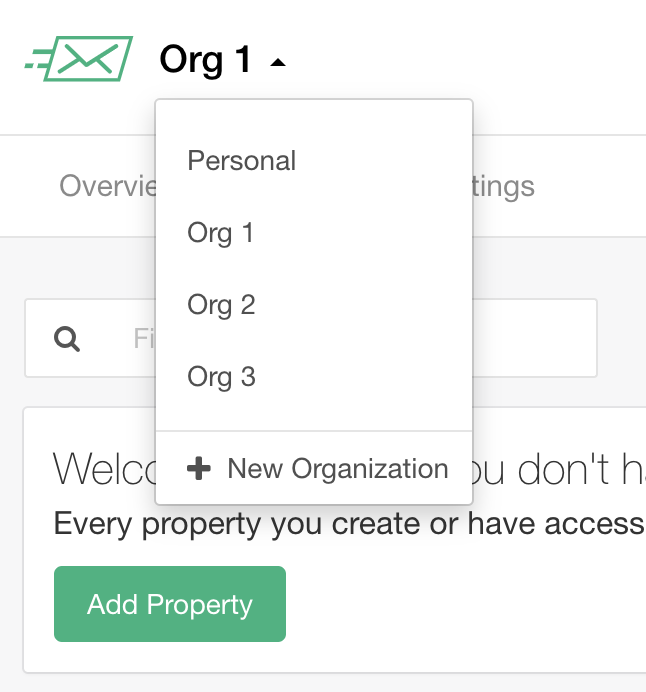
To get started, click on your default org next to the Swoop In envelope in the upper left-hand corner. Here is where you'll find all of your organizations. Next, click on New Organization.
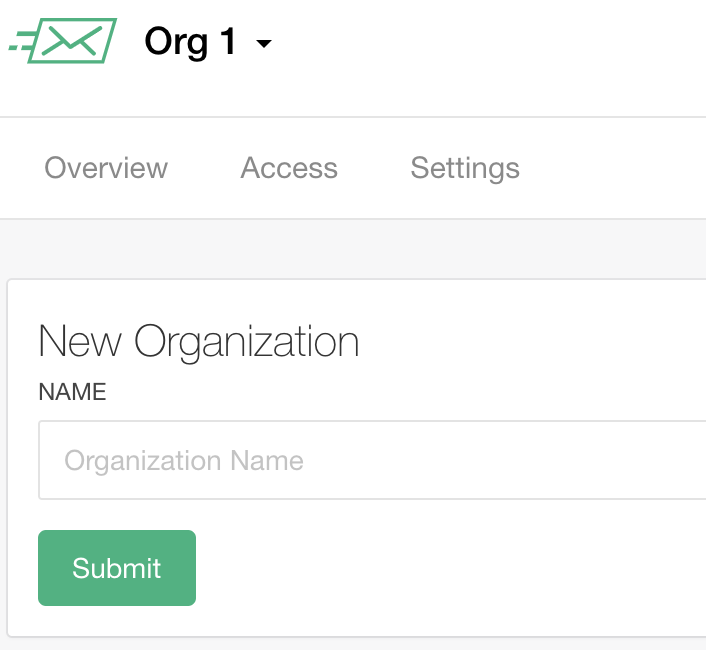
Name and submit to complete the creation of your new organization. And that's it. Now you can begin to create new properties as described above in Add Property.
3. Invite an Internal User
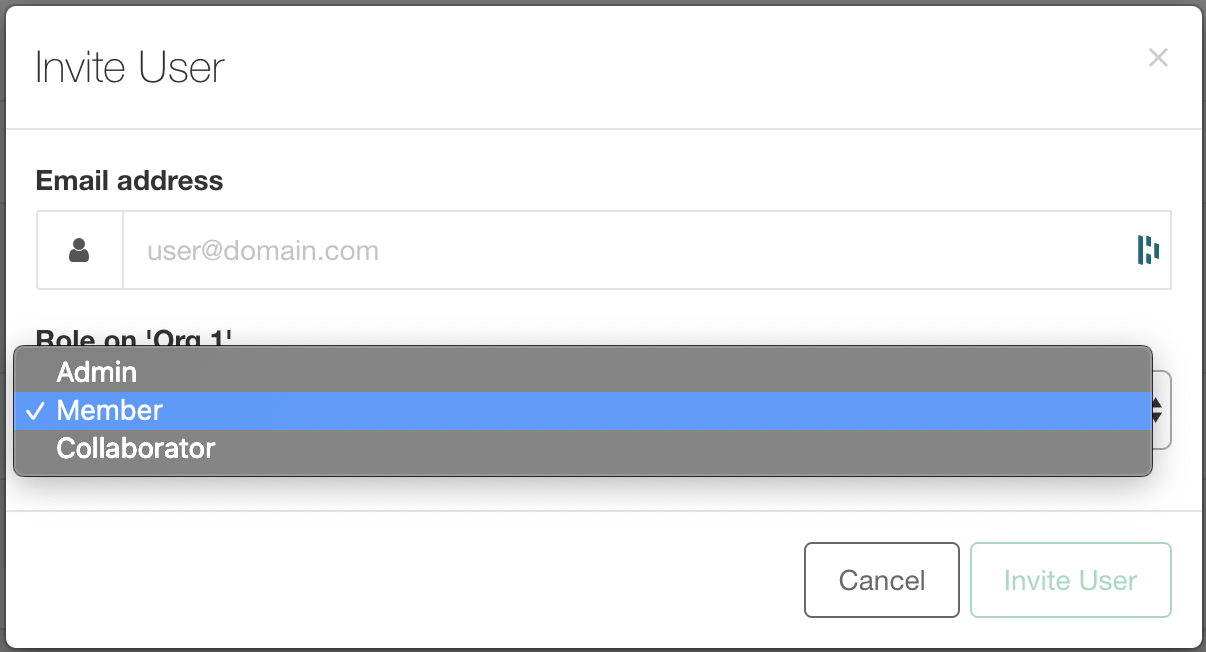
You may want to invite and assign Admin, Member or Collaborator-level users to help you manage your Swoop properties. Depending on the role you select for them, they will have access varying levels of your Swoop dashboard. Get started by clicking on Access in the navigation bar.
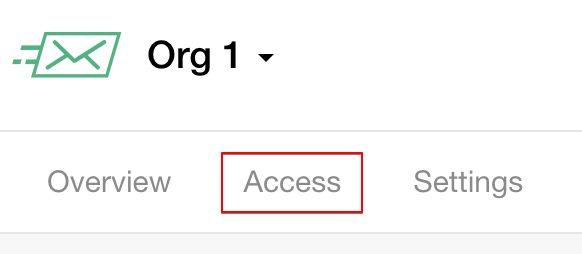
Next, click on the Invite User button.

Fill in your the email address of the user you'd like to invite.
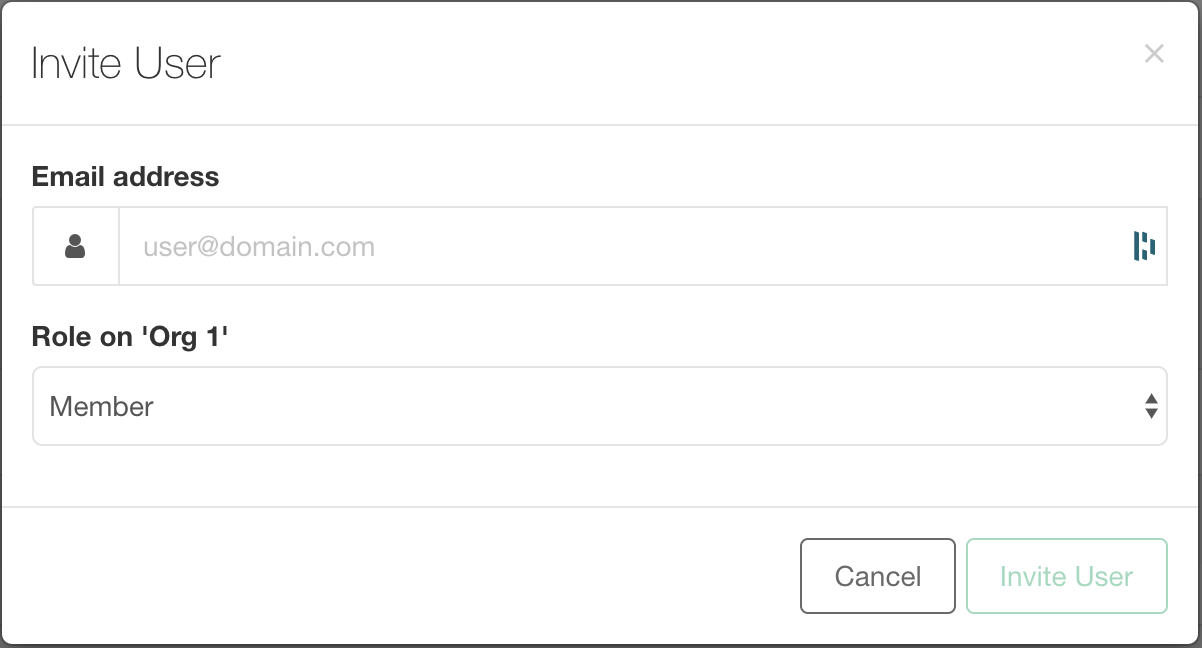
Select the user's role.
User Roles
Admin:: Full read-write access over an organization.Member: Read-access for all properties / analytics within an organization.Collaborator: Property-specific control within an organization.
Updated almost 5 years ago
